If you own a Segway Navimow robotic mower (i105, i108, H3000, etc) and run Home Assistant, you might have noticed that there hasn’t been an official integration available for quite some time. While Segway has discussed smart home integrations in the past, a public API or native Home Assistant support wasn’t widely available.
Fortunately, things seem to be changing. The Navimow team (at least, that’s what I think) recently released an official GitHub repository containing a Home Assistant integration: https://github.com/segwaynavimow/NavimowHA. This replaces the older Google Assistant workaround that required a lot of manual setup.
Let’s take a look at what it can do.
What the NavimowHA Integration Does
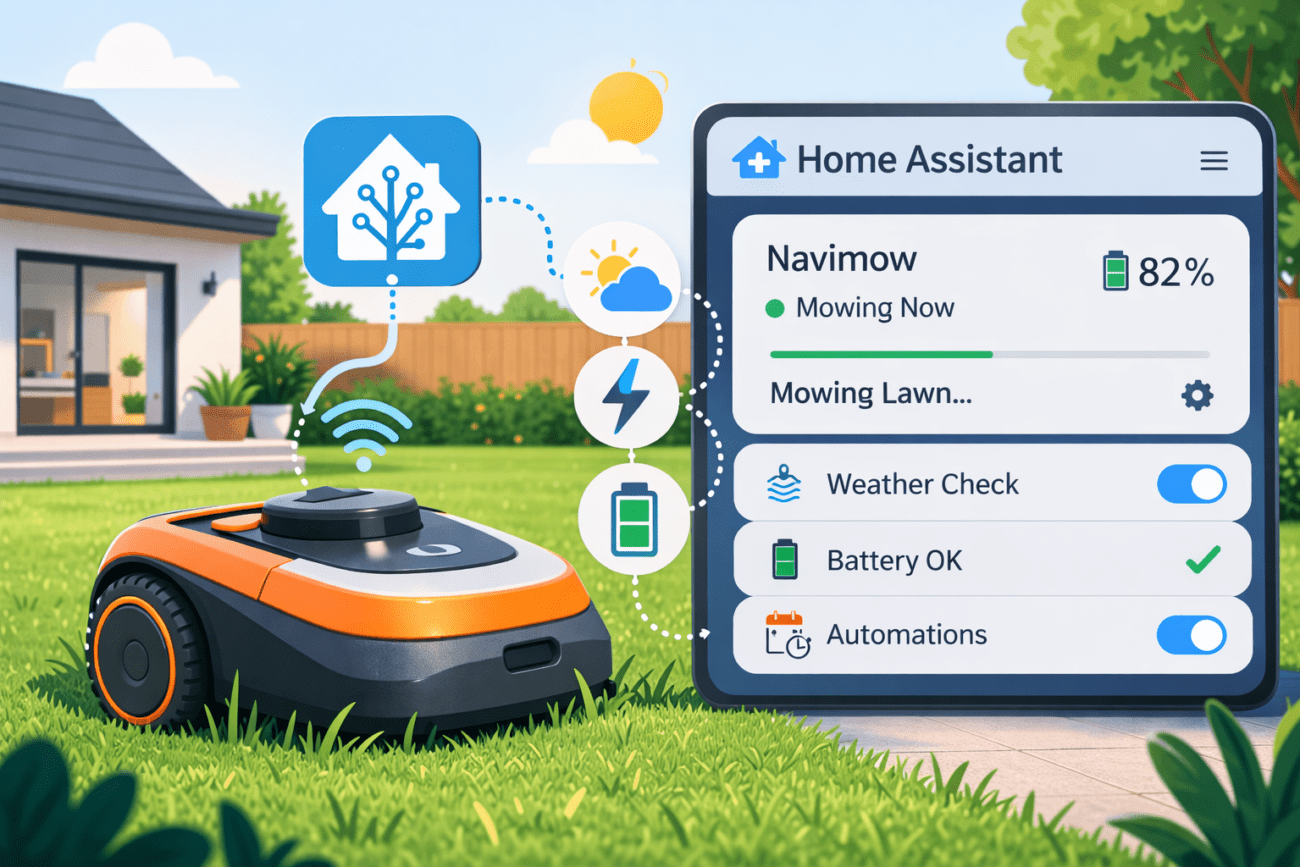
The NavimowHA integration exposes your Segway Navimow as a proper Home Assistant lawn mower entity. Depending on your mower model and configuration, it provides:
- Mower activity status (mowing, charging, returning)
- Battery level
- Commands to start or stop mowing
- Integration with Home Assistant automations
- A dedicated
lawn_mowerentity
Once installed, your mower becomes a fully integrated device inside your smart home.
Prerequisites
Before installing, make sure you have:
- A Segway Navimow mower with the mobile app configured
- Home Assistant running
- HACS installed
1. Install the Repository via HACS
Open HACS in Home Assistant, add the custom repository https://github.com/segwaynavimow/NavimowHA and select Integration as the repository type. Once added, install it through HACS.
2. Restart Home Assistant
After installing, restart Home Assistant to load the new components.
3. Add the Integration
Go to Settings → Devices & Services → Add Integration, search for NavimowHA and follow the setup wizard. You’ll need to authenticate with the same credentials used in the Navimow app.
Entities Created in Home Assistant
Once configured, Home Assistant automatically creates entities such as:
lawn_mower.navimow_i105sensor.navimow_i105_battery
These let you add the mower to dashboards, monitor its status and battery level, and build automations around it.
Example Automations
One of the biggest benefits of integrating the Navimow with Home Assistant is being able to automate your mowing schedule based on real-world conditions. Here are two I use.
Don’t Start Mowing When It’s Raining
alias: Start mower if weather is dry
trigger:
  - platform: time
    at: "10:00:00"
condition:
  - condition: not
    conditions:
      - condition: state
        entity_id: weather.home
        state: rainy
action:
  - service: lawn_mower.start_mowing
    target:
entity_id: lawn_mower.navimowSend the Mower Home When Rain Starts
alias: Return mower when rain starts
trigger:
  - platform: state
    entity_id: weather.home
    to: rainy

condition:
  - condition: state
    entity_id: lawn_mower.navimow
    state: mowing

action:
  - service: lawn_mower.dock
    target:
entity_id: lawn_mower.navimowInstall the Lawn Mower Card (Optional)
If you want a clean UI for status and controls, add the lawn mower card to your dashboard. Here is my current configuration. You might not need to configure the actions depending on your setup.
type: custom:lawn-mower-card
entity: lawn_mower.navimow_i105
battery: sensor.navimow_i105_battery
image: /local/images/navimow-i105e.png?v=2
show_toolbar: true
show_shortcuts: false
actions:
  start:
    service: lawn_mower.start_mowing
    service_data:
      entity_id: lawn_mower.navimow_i105
  pause:
    service: lawn_mower.pause
    service_data:
      entity_id: lawn_mower.navimow_i105
  return_to_base:
    service: lawn_mower.dock
    service_data:
entity_id: lawn_mower.navimow_i105The card shows mower status, battery level and quick start, pause and dock buttons. You can also swap in your own mower image to make it a bit more personal.

Final Thoughts
The NavimowHA integration is a significant step up from the older workarounds. Setup is straightforward, the entities work reliably, and having the mower properly integrated means you can build automations that actually respond to what’s happening in your garden rather than running on a fixed schedule.
The project is still relatively new, so not every feature may be available for all mower models yet. Worth keeping an eye on the GitHub repository for updates.
Thanks for this tutorial ! Navimow has finally started working on this !!
In the card for the dashboard, your actions aren’t showing up (pause, stop, dock)
My config :
—
type: custom:lawn-mower-card
entity: lawn_mower.robot_tondeuse
battery: sensor.robot_tondeuse_batterie
image: /local/navimow_i105.png
temperature: sensor.abbeville_temperature
humidity: sensor.abbeville_humidite
show_toolbar: true
show_shortcuts: false
actions:
start:
service: lawn_mower.start_mowing
service_data:
entity_id: lawn_mower.robot_tondeuse
pause:
service: lawn_mower.pause
service_data:
entity_id: lawn_mower.robot_tondeuse
return_to_base:
service: lawn_mower.dock
service_data:
entity_id: lawn_mower.robot_tondeuse
compact_view: false
animated: true
show_name: true
show_status: true
—
Do you know if it’s also possible to add mowing zones?
Not yet unfortunately.
Can you link the Navimo image here?